


Hi again, and welcome! Since our first installment on How to Start an Outdoor Garden, I’ve put into practice many of the tactics I wrote about, and hopefully you have too!
Fact is, after being a sailor so many years I’m surprised at just how enjoyable working with the land can be. And, I surely have a greater appreciation for commercial farmers. I find too I can’t help but think of the days when farming wasn’t the huge agro-business it is today; and ancestors like my grandmother were out the fields with hand tools, working the land for their families and communities. This I know: it's a lot of work to raise a good-sized garden! I mean, my garden is only 6.5’ x 11’, and while I’ve come to love the work, after an afternoon power-tilling, raking, building a structure for my raised bed and soil conditioning I’m beat out – in a good way!
It sure has been a great way to let out the anxieties of the day and times. And it’s also given me a new perspective of those working in grocery stores so we can eat year-round – all heroes in my book!
Putting The Plan Into Action
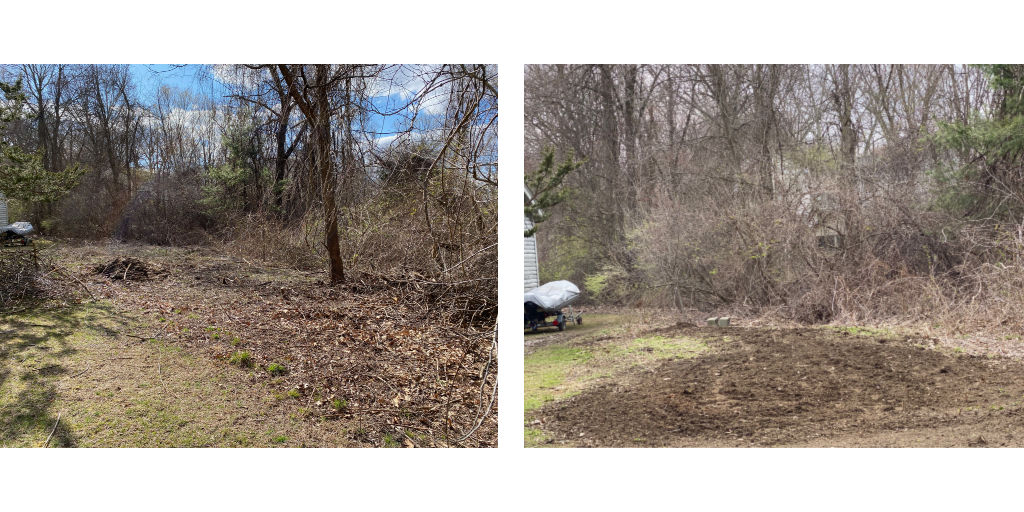
The first thing I did after making the decision to start a garden was to clear some land behind my house that used to have lawn on it 30 years ago when we bought our home, and I was getting my then new ad agency off the ground – and hated walking behind a lawn mower!
Fully-gloved and with socks/long pants on I went at it with a 2-cycle gas brush cutter I bought after finding I was getting too cut up when I used my little chain saw. Then I enlisted the help of one of my 20-something twins who was eager for something to do anything that wasn’t his college video coursework – and of course a little cash!
The scrap wood pile I’ve accumulated over the years putting additions onto our home yielded 2 – 16’ 8”x1” rough-hewn pine boards, and a third that was 13 ½’. Before cutting, I laid them out on the area I though best suited – good full day sun, and fewest of the buried Bittersweet vine roots that plague my town. This gave me a much better perspective of what I was looking at for usable garden, keeping in mind we have bunnies and deer who’d need to be deterred by a fence.
Preparing the Soil
To my soil, which was already fairly rich from years of plant mulch, I decided to add:
Checking Soil pH
While checking water & soil pH levels was something I had drummed into me by the gardening experts with whom I work, I never quite understood why it is so important.
The simple answer: microbes break down nutrients in the soil for uptake by plants; and can only fully complete their role when they live within this pH range. In addition, plants themselves will lock out essential growth elements, such as iron, which is locked out when pH gets higher than 6.6!
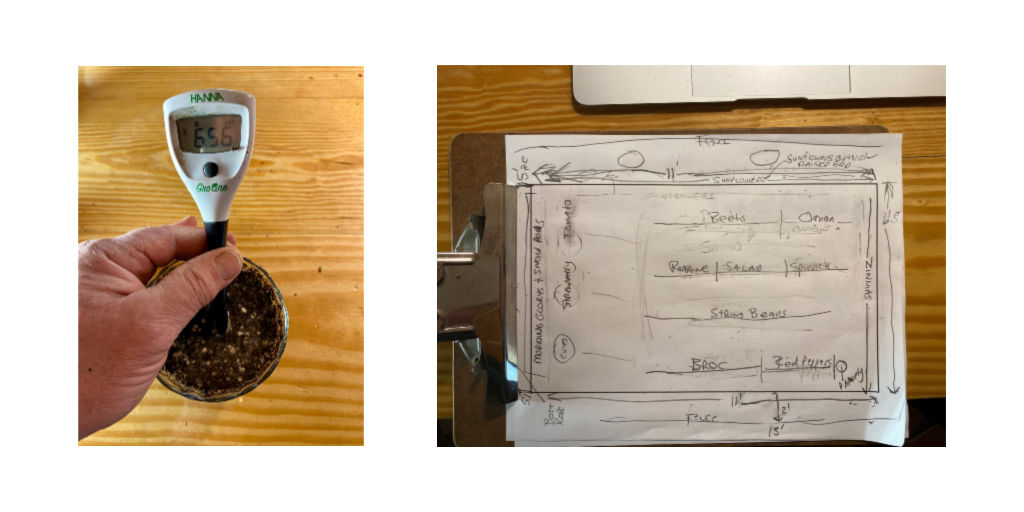
It’s a simple thing to do. You can either use an inexpensive soil pH meter which you insert into the soil to get a rough reading. The more accurate method is to make a ‘slurry’ – a mix of the water you use and the soil. Let it sit a few minutes and use a pH tester - there are many options for pH testers, such as the one shown. (A real pH tester is a ‘must-have’ tool for indoor gardeners)
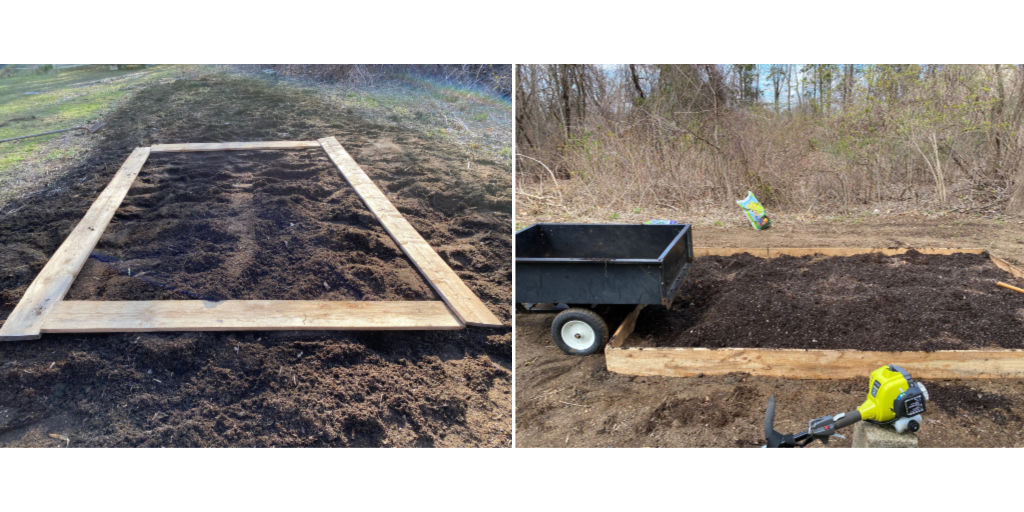
Building The Garden
What started as a 10’ x 6’ ended as an 11’ x 6.5’ raised bed enclosure for no other reason than that’s the wood I had. I also thought this compact size would be manageable; I still want time for other summer stuff like the beach, fishing and golf!
My plan was a working document as I came to more fully grasp what the actual land size was. I also wanted to plant furrows wide enough so my power tiller could be used for the major weeding tasks.
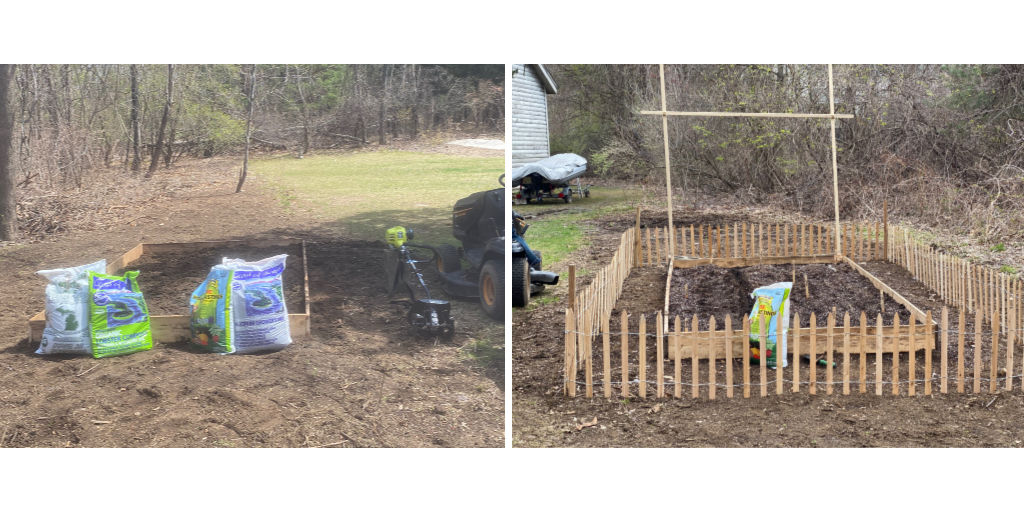
Along with the bed, I added a simple frame structure on one end, from which I’ll tie heavy twine pieces down to the frame so my Morning Glories, Snow Peas, and maybe even my Cucumbers can have a place to climb, and not clutter my garden with vines.
Final Tally: What I Planted
• Beets
• Cucumbers
• String Beans
• Sweet Peppers (Red, Yellow, Green - 1 start)
• Broccoli (starting indoors - an experiment!)
• Snow Peas
• Spinach
• Mescal Salad Mix Lettuce
• Romaine
• Onions
• Parsley (1 plant start)
• Strawberries (1 plant start)
• Tomato (1 plant start)
• Flowers: Morning Glory, Zinnias, Sun Flowers (2 types - outside raised bed, but inside fence)
• Butternut & Summer Squash (on opposite side of house to reduce exposure to powdery mildew)
Because I had more than enough seeds, I also put in a “Bunny Patch” of string beans outside the fence. I also want to grow butternut and summer squash, but I put them on the opposite side of my house in a compost pile, because they are suspectable to powdery mildew. This is not a bad thing for them, but it’s potentially very troublesome for other plants I plan for my yard.
I then planted everything except my broccoli and my sweet peppers, which I’m trying to start indoors. I also grabbed a parsley, tomato, strawberry and sweet pepper start each from the local nursery, which will go in this weekend (assuming it doesn't snow again!).
I used the Worm Casings in each seed and start hole, giving them a wonderfully rich nest in which to germinate.
Now, it’s all up to Gaia – Mother Nature to some. And with my new garden hose in hand, you’ll find me every at my garden every night watering it (but not too much – over watering cuts off oxygen to the root zone and literally drowns them), talking to my plants and encouraging them. Sometimes we even sing and dance!
And you know, I’m pretty sure it works. At least it does for me! T-
Next Installment: Progress (let's hope!), and a final tally of what it cost to create my garden.
Tom Lanen is the ‘marketing & creative guy’ for New England Hydroponics 4 MA retail stores and online; and principal of ThomasBoston.com. Having just thoroughly enjoyed the virtual graduation from UMass Amherst of his twin sons, he’s settling into the warmer season delighted by his gardens (he’s also an indoor gardener), and the sense of well-being they bring him!